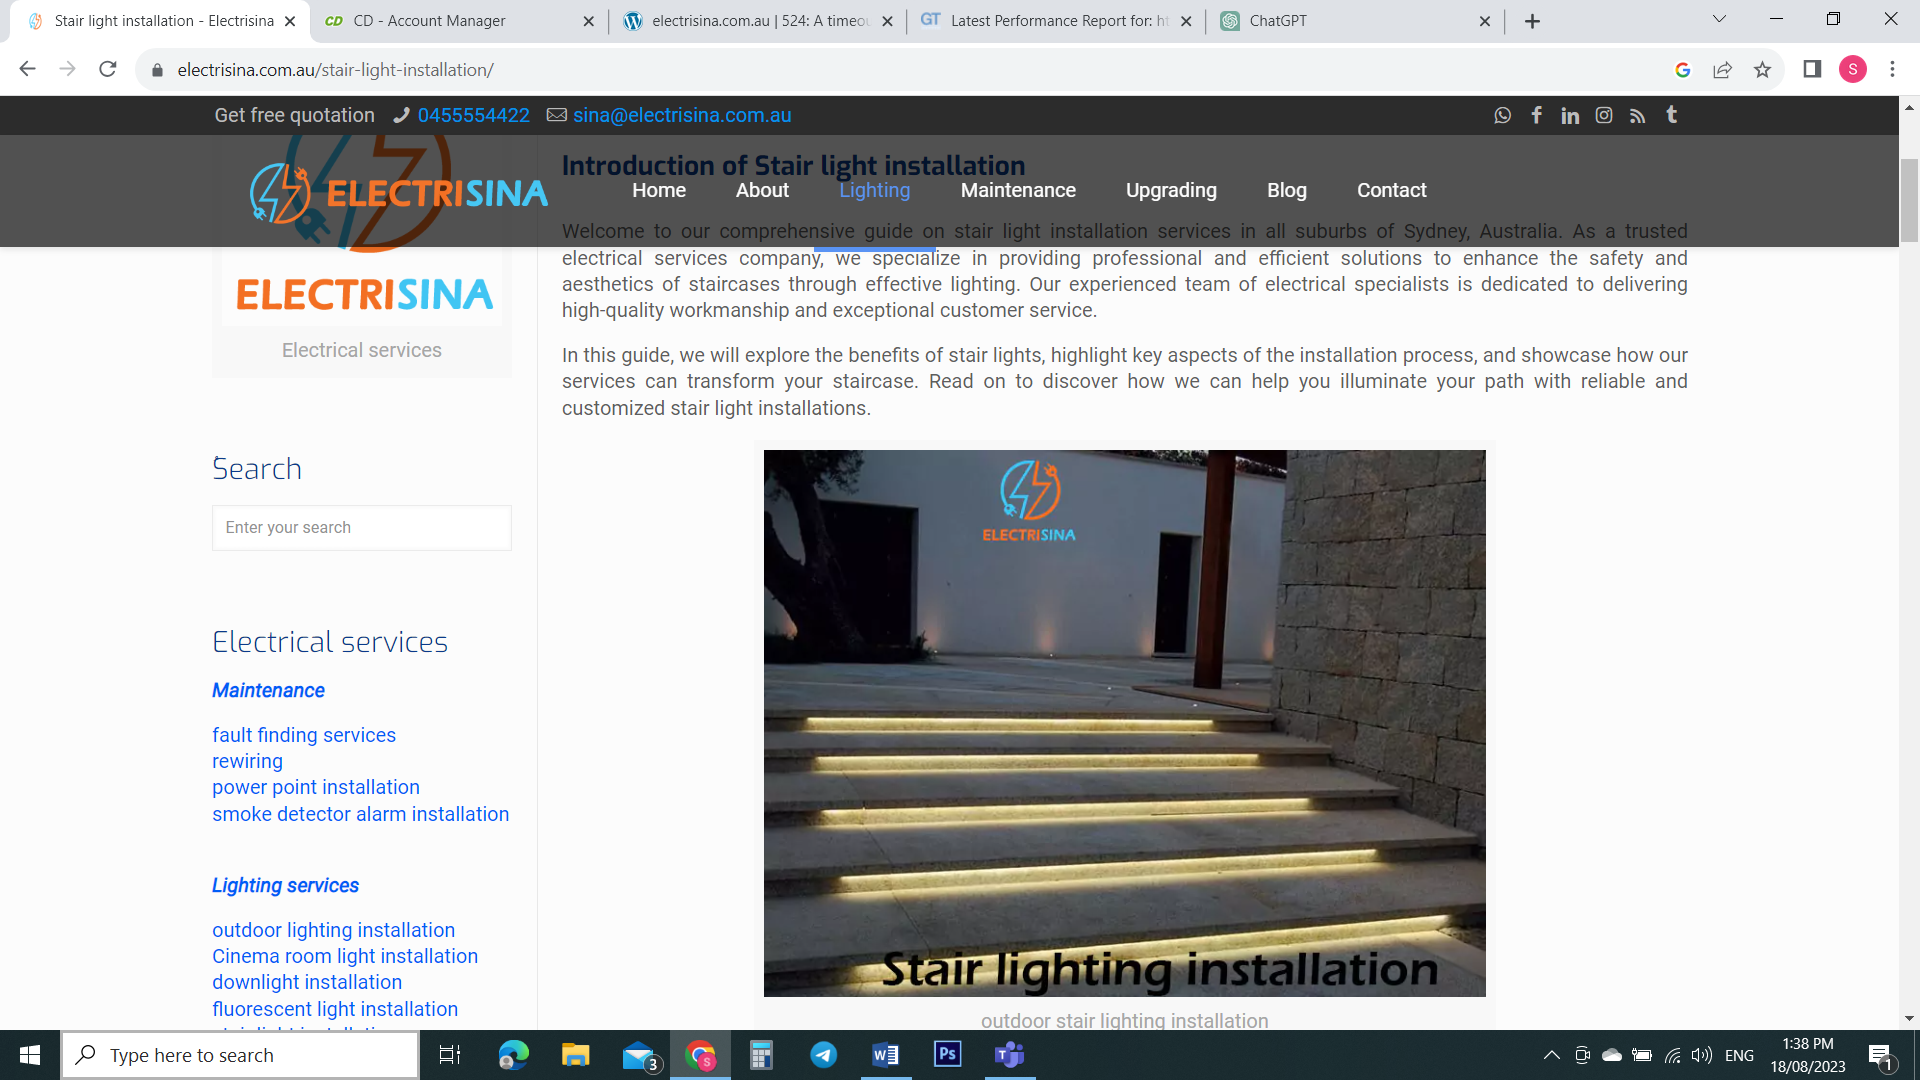
Installing outdoor stair lights can elevate the safety, visual appeal, and practicality of your outdoor area, particularly during evenings and nights. Here is a stepwise manual to aid you in the installation process: Necessary Supplies:
- Outdoor stair lights
- Transformer (if employing low-voltage lights)
- Wiring and connectors
- Screwdriver
- Drill
- Cable clips or staples
- Wire stripper
- Voltage tester
- Outdoor extension cord (if required)
- Outdoor-rated junction box (if necessary)
Steps for Installation:
Arrangement: Identify the spots where you intend to place the stair lights. It's advisable to position them at consistent intervals along the stairs, ensuring sufficient visibility and safety. Select the Lights: Choose outdoor stair lights specially crafted for outdoor use. You can decide on solar-powered lights, low-voltage LED lights, or wired lights based on your preference and power availability.
Guidelines for Outdoor Stair Light Installation:
Prepare the Wiring for Outdoor Stair Light Installation
For wired lights: Measure and cut suitable lengths of wiring for each light, leaving extra length for connections.
For low-voltage lights: Connect the wiring to the transformer and ensure secure attachment.
Mount the Lights: Solar lights: Follow the manufacturer's directions to securely mount them using screws or adhesive.
Wired lights: Employ the provided brackets or mounts to fix the lights to the stairs. Drill Holes: If your lights necessitate wiring, bore holes into the stairs or adjacent structure to pass the wiring through.
This level of process is so similar to downlight installation Sydney.
Connect the Wiring: Strip the wiring ends to expose the copper strands. Link the wires from each light to the corresponding wires from the preceding light or the main power source. Secure the connections using wire connectors or waterproof electrical tape. Test the Lights: Prior to finalizing the installation, test each light to verify its proper functioning.
Employ a voltage tester to inspect the wiring and connections for any problems. Fasten the Wiring: Employ cable clips or staples to fasten the wiring along the path, maintaining tidiness and averting tripping hazards.
Weatherproof Connections: If your lights are wired, safeguard the connections by placing them within waterproof junction boxes, preventing moisture-induced damage.
Establish Power Connection: Solar lights: No extra steps required for solar-powered lights. Wired lights: Link the wiring to a power source, either by plugging into an outdoor outlet or connecting to a transformer.
Adjust the Lights: Once all connections are established and functioning, modify the angle of each light to ensure optimal illumination of the stairs and surrounding vicinity.
Secure and Conceal: Confirm the security of all connections and adequately cover exposed wiring to shield it from harm. Always prioritize safety during the installation process.
If you are uncomfortable dealing with electricity or wiring, it is wise to engage a professional electrician to manage the installation. Additionally, adhere to local construction codes and regulations when setting up outdoor lighting.
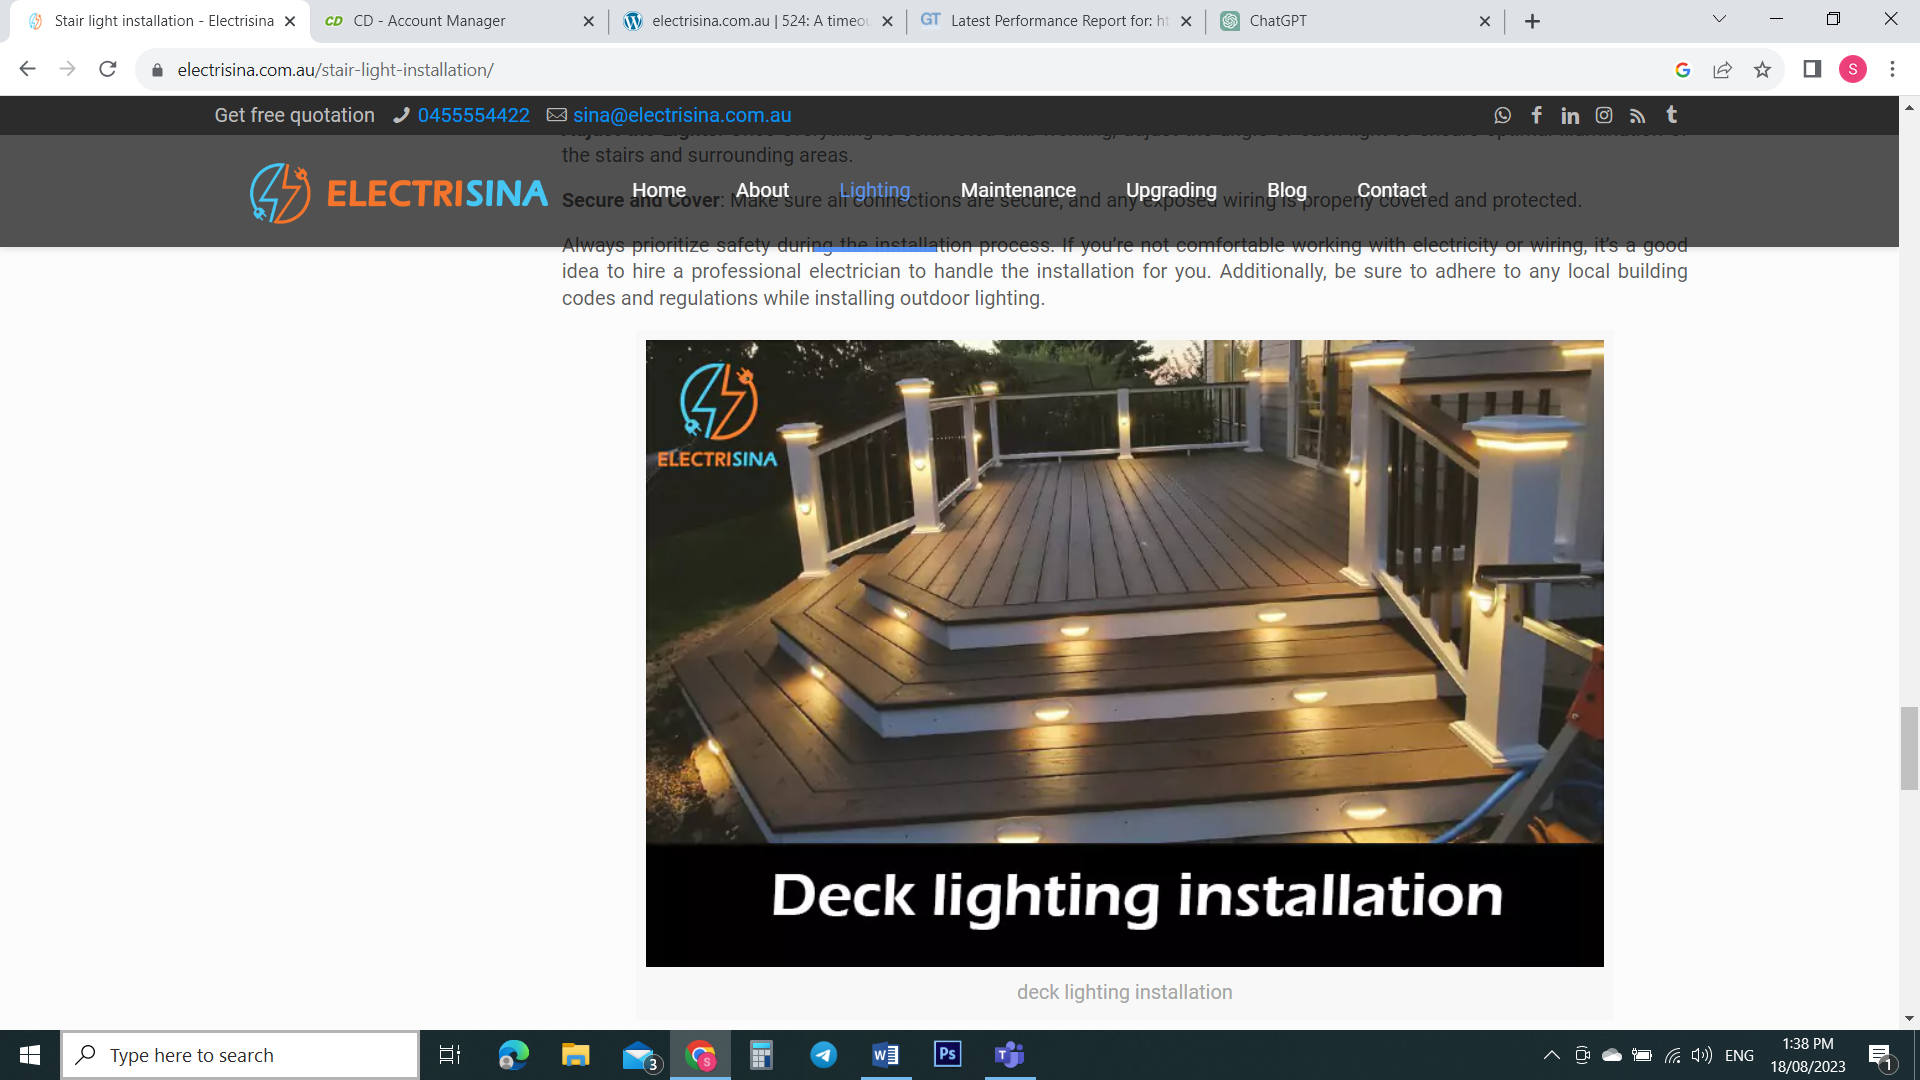
Disparities Between Deck Lighting Installation and Stair Lights Installation: The installation of deck lighting and stair lights shares certain similarities, yet diverges based on the specific zones they intend to illuminate.
Relevant info : Cinema room light installation

Here are the main distinctions between the two:
- Objective and Purpose: Deck Lighting: Deck lighting primarily focuses on generating ambiance and enriching the overall visual allure of your outdoor deck area. It delivers general illumination for the entire deck space, rendering it more inviting and functional during evenings and nights. Deck lights are frequently positioned around the deck's periphery, on railings, and posts. Stair Lights: Stair lights, as the name implies, are designed to heighten safety and visibility on stairs, pathways, or steps. They mitigate accidents by illuminating stair treads and risers, making night time navigation easier.
- Installation Locations: Deck Lighting: Deck lights are situated on various parts of the deck, such as the deck surface, railings, posts, and occasionally beneath the deck to create upward ambient lighting. They emphasize providing broader and evenly distributed illumination across the entire deck area. Stair Lights: Stair lights are specifically affixed to staircases and steps. They are positioned to illuminate each individual step, ensuring clear visibility of step edges and safe traversal.
- Lighting Fixtures: Deck Lighting: Deck lighting fixtures encompass recessed lights, post cap lights, under-rail lights, and string lights. These fixtures are crafted to yield a pleasing and consistent glow over the deck surface. Stair Lights: Stair lights are typically recessed or surface-mounted fixtures that fit into the steps themselves or along stair risers. They are designed to be compact and focused, rendering localized illumination on the steps.
- Lighting Angle and Intensity: Deck Lighting: Deck lights' angle and intensity are generally diffused and spread out to engender a comfortable and inviting atmosphere. The aim is to furnish ambient lighting that enhances the deck area's overall aesthetic appeal. Stair Lights: Stair lights are angled downward to direct their light onto the steps. This targeted lighting illuminates each step's surface, facilitating the discernment of step height and depth.
- Safety Considerations: Deck Lighting: Although deck lighting also contributes to safety by rendering the entire deck area visible, its primary emphasis lies in generating a pleasant environment. The illumination might not be as focused as that of stair lights. Stair Lights: Stair lights are meticulously designed to amplify safety by averting tripping and slipping incidents on staircases, particularly in low-visibility regions. Their core objective is to illuminate the pathway and augment step visibility.
Source:
stair light installation


 icons at the top
right corner of the subsection.
icons at the top
right corner of the subsection.